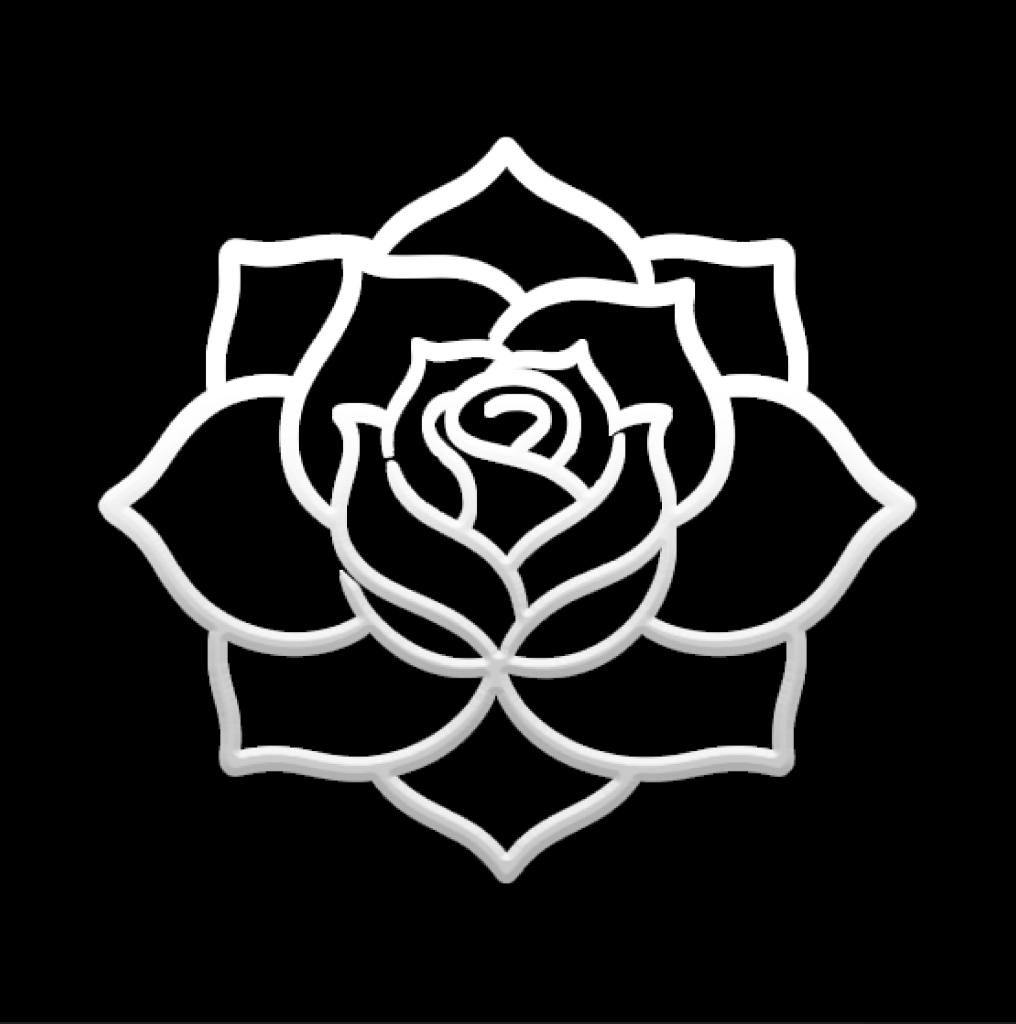


A tattoo stencil is the transfer template an artist applies to skin before the first needle touches it. It defines placement, scale and every line the tattoo will follow. Turning a design into a usable stencil is not just tracing — it is deciding which lines survive, how heavy they need to be, and what detail has to go so the piece still reads in ten years.
What this tool does
You upload an image and get back a clean line drawing on a white background: outlines only, no shading, no colour, no photographic texture. That is the format a thermal printer needs and the format an artist can actually work from.
Three things happen in the conversion. Contours are extracted from the source image. Line weight is normalised so thin strokes do not vanish during transfer. Detail below the printable threshold is dropped, because anything the printer cannot resolve will not reach the skin either.
What makes a good source image
High contrast beats high resolution. A crisp black-and-white drawing converts better than a detailed photograph, because the edges are already unambiguous. Photographs with soft lighting produce muddy contours.
Flat lighting. Strong shadows read as edges and end up as lines in the stencil that were never part of the design.
One clear subject. Busy backgrounds add contours you will have to remove manually afterwards.
Enough size. Aim for at least 1500 pixels on the long edge. Upscaling a small image before conversion adds artefacts rather than detail.
Line weight is the whole game
Stencil lines that look elegant on screen can be unusable on skin. Two thresholds matter.
First, the transfer threshold. Lines thinner than roughly 0.3mm at final print size may not transfer completely, leaving the artist guessing at gaps mid-session.
Second, the ageing threshold. A line under about 1mm of tattooed width tends to spread over the years. Fine line work is a legitimate style choice, but it is a choice about how the piece ages, not just how it looks on day one.
If a stencil looks correct but feels crowded, the fix is almost always to remove lines rather than to thin them.
Sizing before you print
Print at the exact size the tattoo will be. Scaling on paper is where most stencil problems begin — a design reduced by 30 percent loses the same 30 percent from every gap between lines, and gaps are what keep a tattoo readable.
As a working rule, any enclosed space smaller than about 1mm at final size will close up as the ink settles. Check the tightest part of the design at print size, not at screen size.
Transferring to skin
Thermal transfer paper and a stencil printer are the studio standard. Hand-tracing onto transfer paper works but introduces its own line variation.
The skin needs to be shaved, cleaned and completely dry. Stencil solution or a thin layer of transfer gel holds the outline through a long session; plain deodorant is a common improvisation but tends to smudge under repeated wiping.
Let the stencil dry fully before starting. Most stencil failures are impatience, not technique.
Where AI stencils help and where they do not
They help at the exploration stage: converting a reference quickly, comparing line weights, checking whether an idea survives simplification. That saves the back-and-forth of describing a change in words.
They do not replace an artist's judgement about your body. Proportions that work on a flat canvas rarely map directly onto a forearm or a ribcage, and adapting the composition to your anatomy is the part that requires a person.
Bring the stencil as a starting point. Expect your artist to redraw parts of it, and treat that as the job being done properly rather than as your design being rejected.